TM 5-6115-400-35
The ends of the teeth engage with
the pinion of the starter.
(c) Drive ring gear down tight against
shoulder on the flywheel. Allow ring
gear to cool slowly; do not cool with
water.
e. Flywheel Installation.
(1) Install flywheel by reversing the removal
procedure.
(2) After flywheel is assembled to the
crankshaft, tighten the flywheel nuts to the
specified torque of 16 to 170 ft. lbs.
(3) Attach a dial indicator to the flywheel
housing and check flywheel face for
runout (fig. 81).
Note. Insert a suitable bar into the
timing hole and pry flywheel to the rear
to eliminate crankshaft end play so dial
indicator reading is accurate.
(4) Flywheel face run-out should not exceed
.0005 inch maximum total indicator
reading per inch of flywheel diameter.
(5) Readjust indicator so that indicator finger
rides the bore of the flywheel housing (fig.
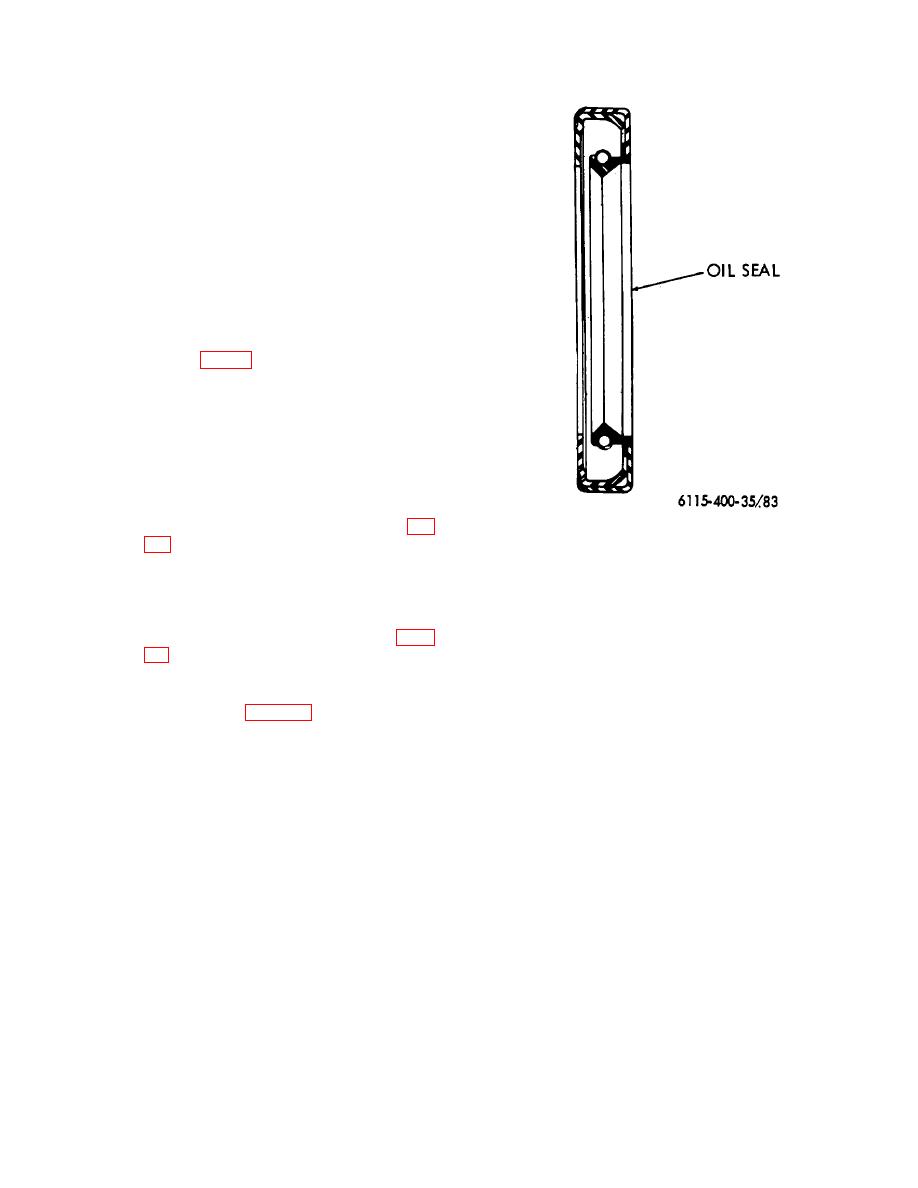
Figure 83. Crankshaft rear oil seal.
.008 inch total indicator reading.
(4) Inspect housing for cracks and other
54. Flywheel Housing
damage; repair or replace housing if
a. Removal.
damaged.
(1) Remove flywheel from the engine (para
c. Crankshaft Rear Oil Seal Installation.
(1) Clean oil seal bore in the flywheel
(2) Remove capscrews securing the oil pan to
housing.
the flywheel housing.
(2) The O.D. of the seal has a layer of red-
(3) Remove bolts (fig. 80) securing flywheel
colored sealant which eliminates the use
housing to the cylinder block.
Tap
of a sealing compound on the O.D. of the
housing with a soft-headed hammer to
seal prior to pressing it into the flywheel
break it loose from the housing dowels;
housing.
remove the housing.
(3) Position seal squarely with bore in
b. Cleaning and Inspection.
housing and, using a seal installer,
(1) Remove
housing-to-block
preformed
carefully drive seal into flywheel housing
packing
and
housing-to-camshaft
until it is seated against the seal stop in
preformed packing.
the bore.
(2) Remove and discard crankshaft rear oil
Note. The seal must be installed with
seal.
sealing lip of seal directed toward the
cylinder block.
(3) Thoroughly clean housing with cleaning
solvent.
(4) Make certain the crankshaft flange on
which the seal rides is free from nicks or
burrs.
Polish with crocus cloth if
necessary.
116


