b. see p a r a g r a p h 3 - 8 7 and remove oil separator (85).
c. Remove nuts (82), clamp and bracket (84), nuts (83), and
screws (W.
d. Remove screws (49), washers (51) and nuts
(50T Loosen clamps and remove hoses (47 and48).
e. Remove clamp (44) and remove filler neck
(43L
f. Remove remainder of items in sequential
ordir.
~. InSt._dl in reverse sequence of removal.
3 - 1 6 5 . F u e l T r a n s f e r P u m p s .
See f i g u r e 3 - 2 8 and proceed as follows:
a.
Servicing.
(1) Twist and remove cover and gasket
from body of fuel pump (3’7 and 38).
(2) Carefully remove filter from fuel pump
body.
(3) Wash filter with cleaning solvent Federal
Specification P-D-680 and dry thoroughly.
(4) Inspect filter and gasket for tears. Re-
place defective filter and gasket.
(5) Position filter, and gasket in fuel pump
body and secure with cover.
~. Testing. Test each fuel pump (37 and 38)
one at a time as follows:
(1) Disconnect fuel hose assemblies from
fuel pumps.
(2) Connect top (inlet) of fuel pump to a fuel
source.
(3) Connect bottom (outlet) of fuel pump to
a clean empty container.
(4) Connect a 24-Vdc power supply to male
receptacle and ground, observing ground polarity
requirements (+ or -) as stamped on fuel pump
bracket. Fuel pump should deliver 18 gallons per
hour of fuel with zero pressure. If fuel pump is
inoperative, there may be an open circuit in the
wire lead assembly. If fuel pump does not operate
after rechecking electrical test connection, re-
place the fuel pump.
(5) At completion of test, reconnect fuel
hose assemblies to fuel pump (37 and 38).
c.
Replacement.
See f i g u r e 3 - 2 8 (detail A)
and-proceed as follows:
(1) Disconnect connectors on fuel pumps
(37 and 38).
(2) Disconnect hose assemblies (24).
3 - 7 8
C h a n g e 9
(3) Disconnect tube assembly (30) from both
fuel pumps (37 and 38).
(4) Remove four screws (34) and nuts (35)
which secure fuel pumps.
(5) To reassemble, reverse the disassembly
sequence.
3 - 1 6 6 .
F u e l
S e l e c t o r
V a l v e
a n d
L i n e s
R e p l a c e m e n t .
See f i g u r e 3 - 2 8 and remove and replace item num-
bers (24), (25), (15), (17), (16), (18), (20), (19),
(21), (23), (22), (27), (28) and (29), as required.
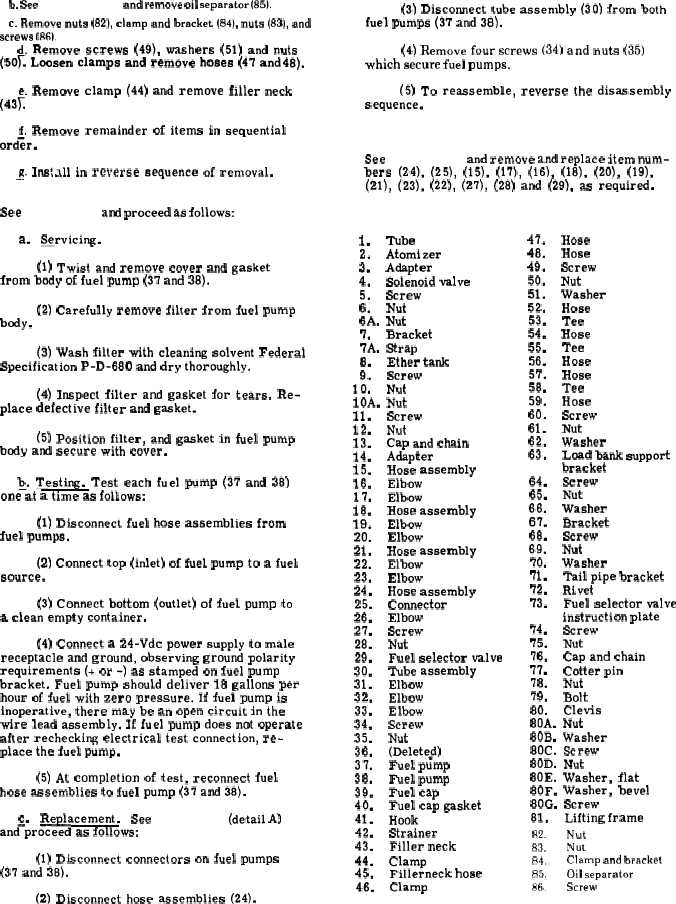
K E Y t o f i g . 3 - 2 8 :
1.
Tube
2.
Atomizer
3.
Adapter
4.
Solenoid valve
5.
Screw
6.
Nut
6A. Nut
7.
Bracket
7A. Strap
8.
Ether tank
9.
Screw
10.
Nut
lOA. Nut
11.
Screw
12.
Nut
13.
Cap and chain
14.
Adapter
15.
Hose assembly
16.
Elbow
17.
Elbow
18.
Hose assembly
19.
Elbow
20.
Elbow
21.
Hose assembly
22.
Elbow
23.
Elbow
24.
Hose assembly
25.
Connector
26.
Elbow
27.
Screw
28.
Nut
29.
Fuel selector valve
30.
Tube assembly
31.
Elbow
32.
Elbow
33.
Elbow
34.
Screw
35.
Nut
36.
(Deletefi)
37.
Fuel pump
38.
Fuel pump
39.
Fuel cap
40.
Fuel cap gasket
41.
Hook
42.
Strainer
43.
Filler neck
44.
Clamp
45.
Fillerneck hose
46.
Clamp
47.
48.
49.
50.
51,
52.
53.
54.
55.
56.
57.
58.
59.
60.
Hose
Hose
Screw
Nut
Washer
Hose
Tee
Hose
Tee
Hose
Hose
Tee
Hose
Screw
61.
Nut
62.
Washer
63.
Load bank support
bracket
64.
Screw
65.
Nut
66.
Washer
67.
Bracket
68.
Screw
69.
Nut
70.
Washer
71.
Tail pipe bracket
72.
Rivet
73.
Fuel selector valve
instruction plate
74.
Screw
75.
Nut
76.
Cap and chain
77.
Cotter pin
78.
Nut
79.
Bolt
80.
Clevis
80A. Nut
80B. Washer
80C. Screw
80D. Nut
80E. Washer, flat
80F. Washer, bevel
80G.
Screw
81.
Lifting frame
82.
Nut
83.
Nut
84.
Clamp and bracket
85.
Oil separator
86.
Screw